


Hinze Tenon Cutter
Hinze Tenon Cutter
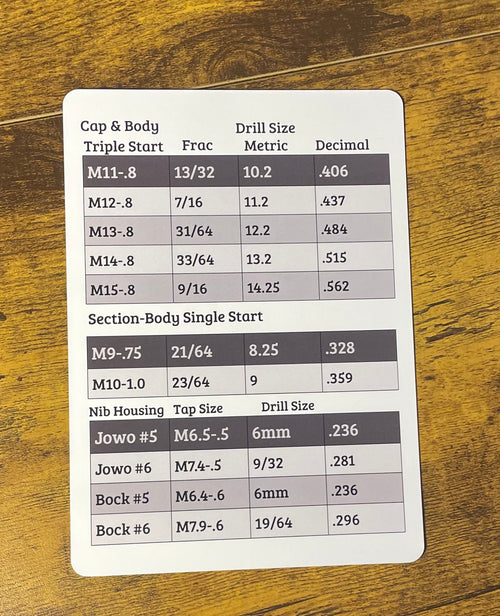
Product Specs
Product Specs
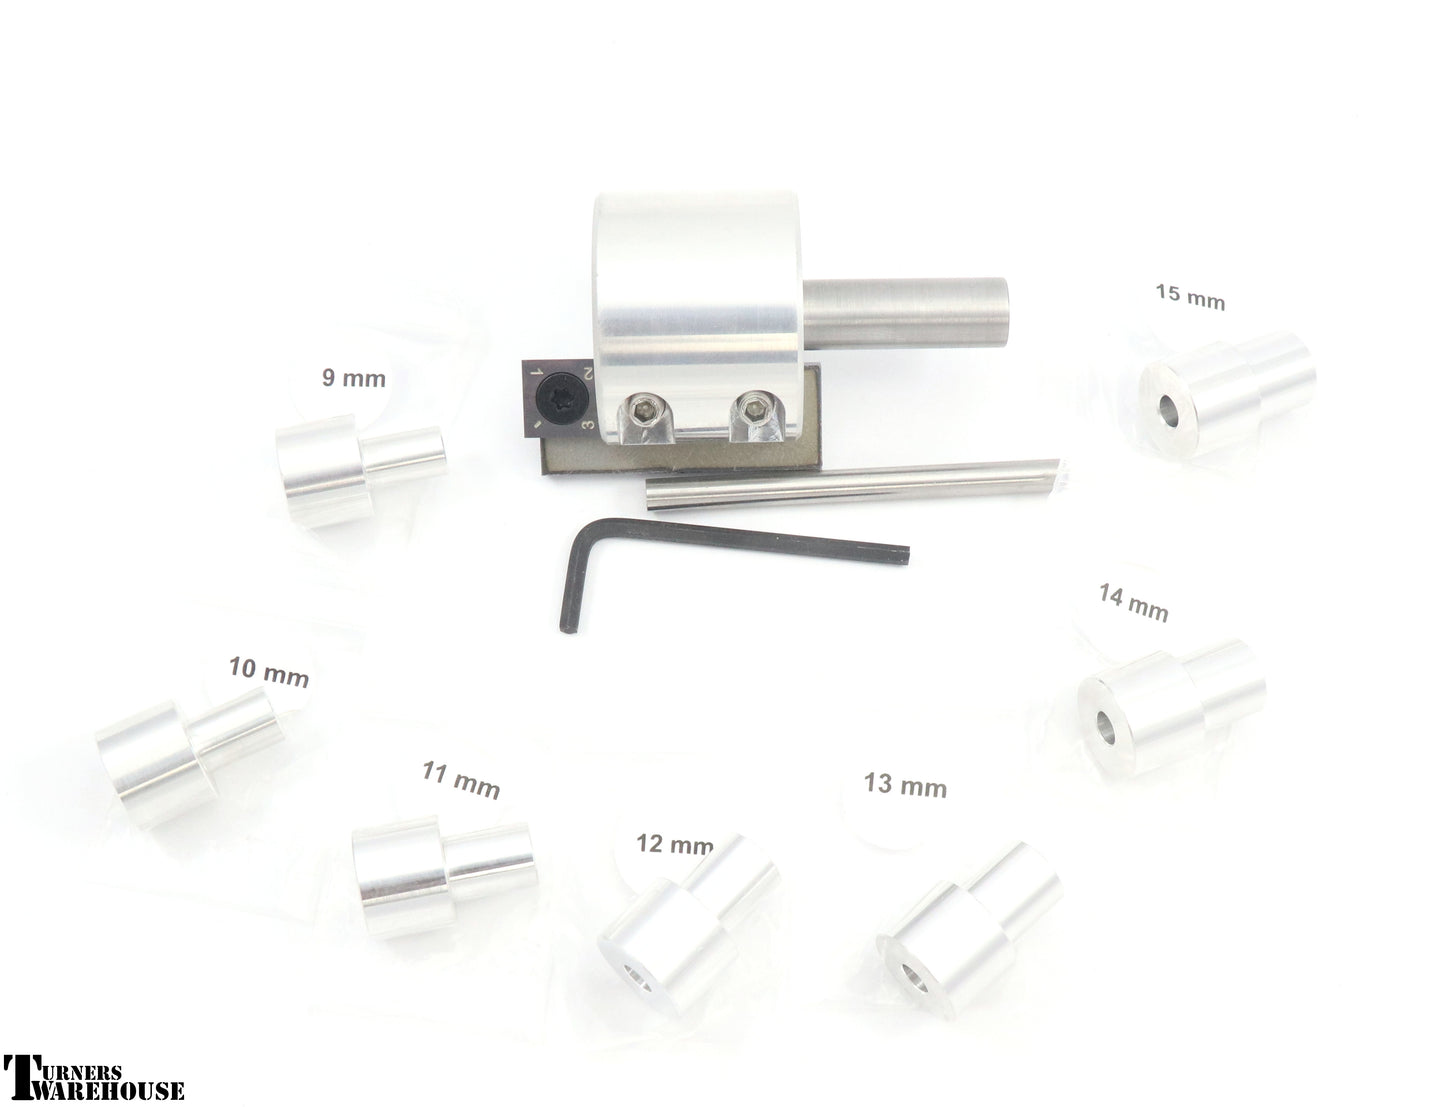
Setup & Use
Setup & Use
Couldn't load pickup availability

Regular price
$169.99 USD
Regular price
Sale price
$169.99 USD
Unit price
per
Shipping calculated at checkout.
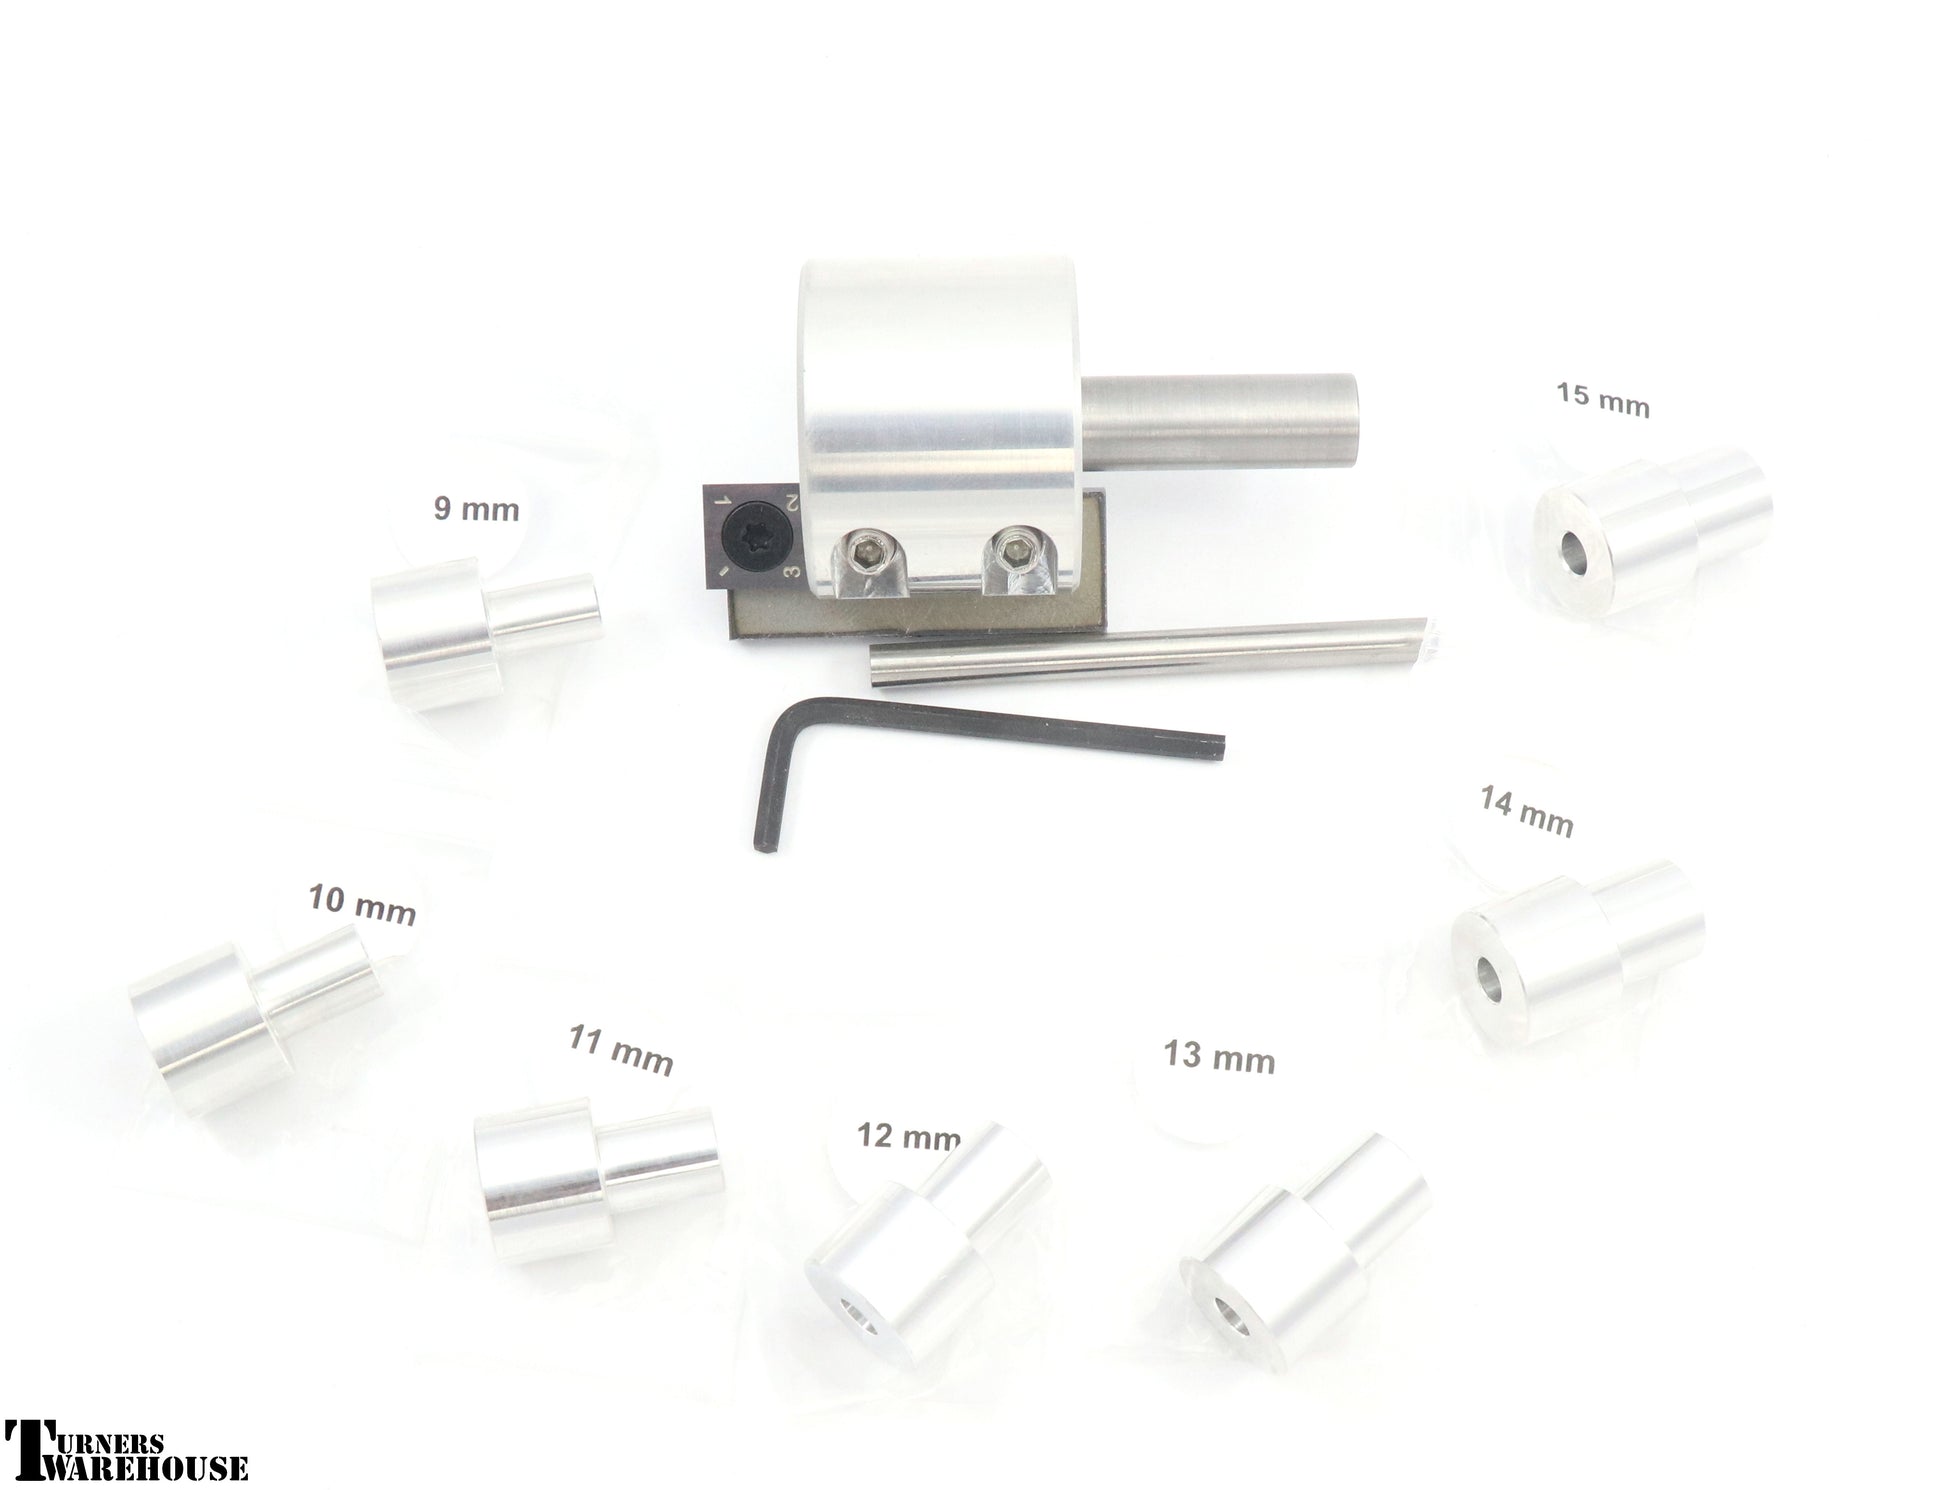
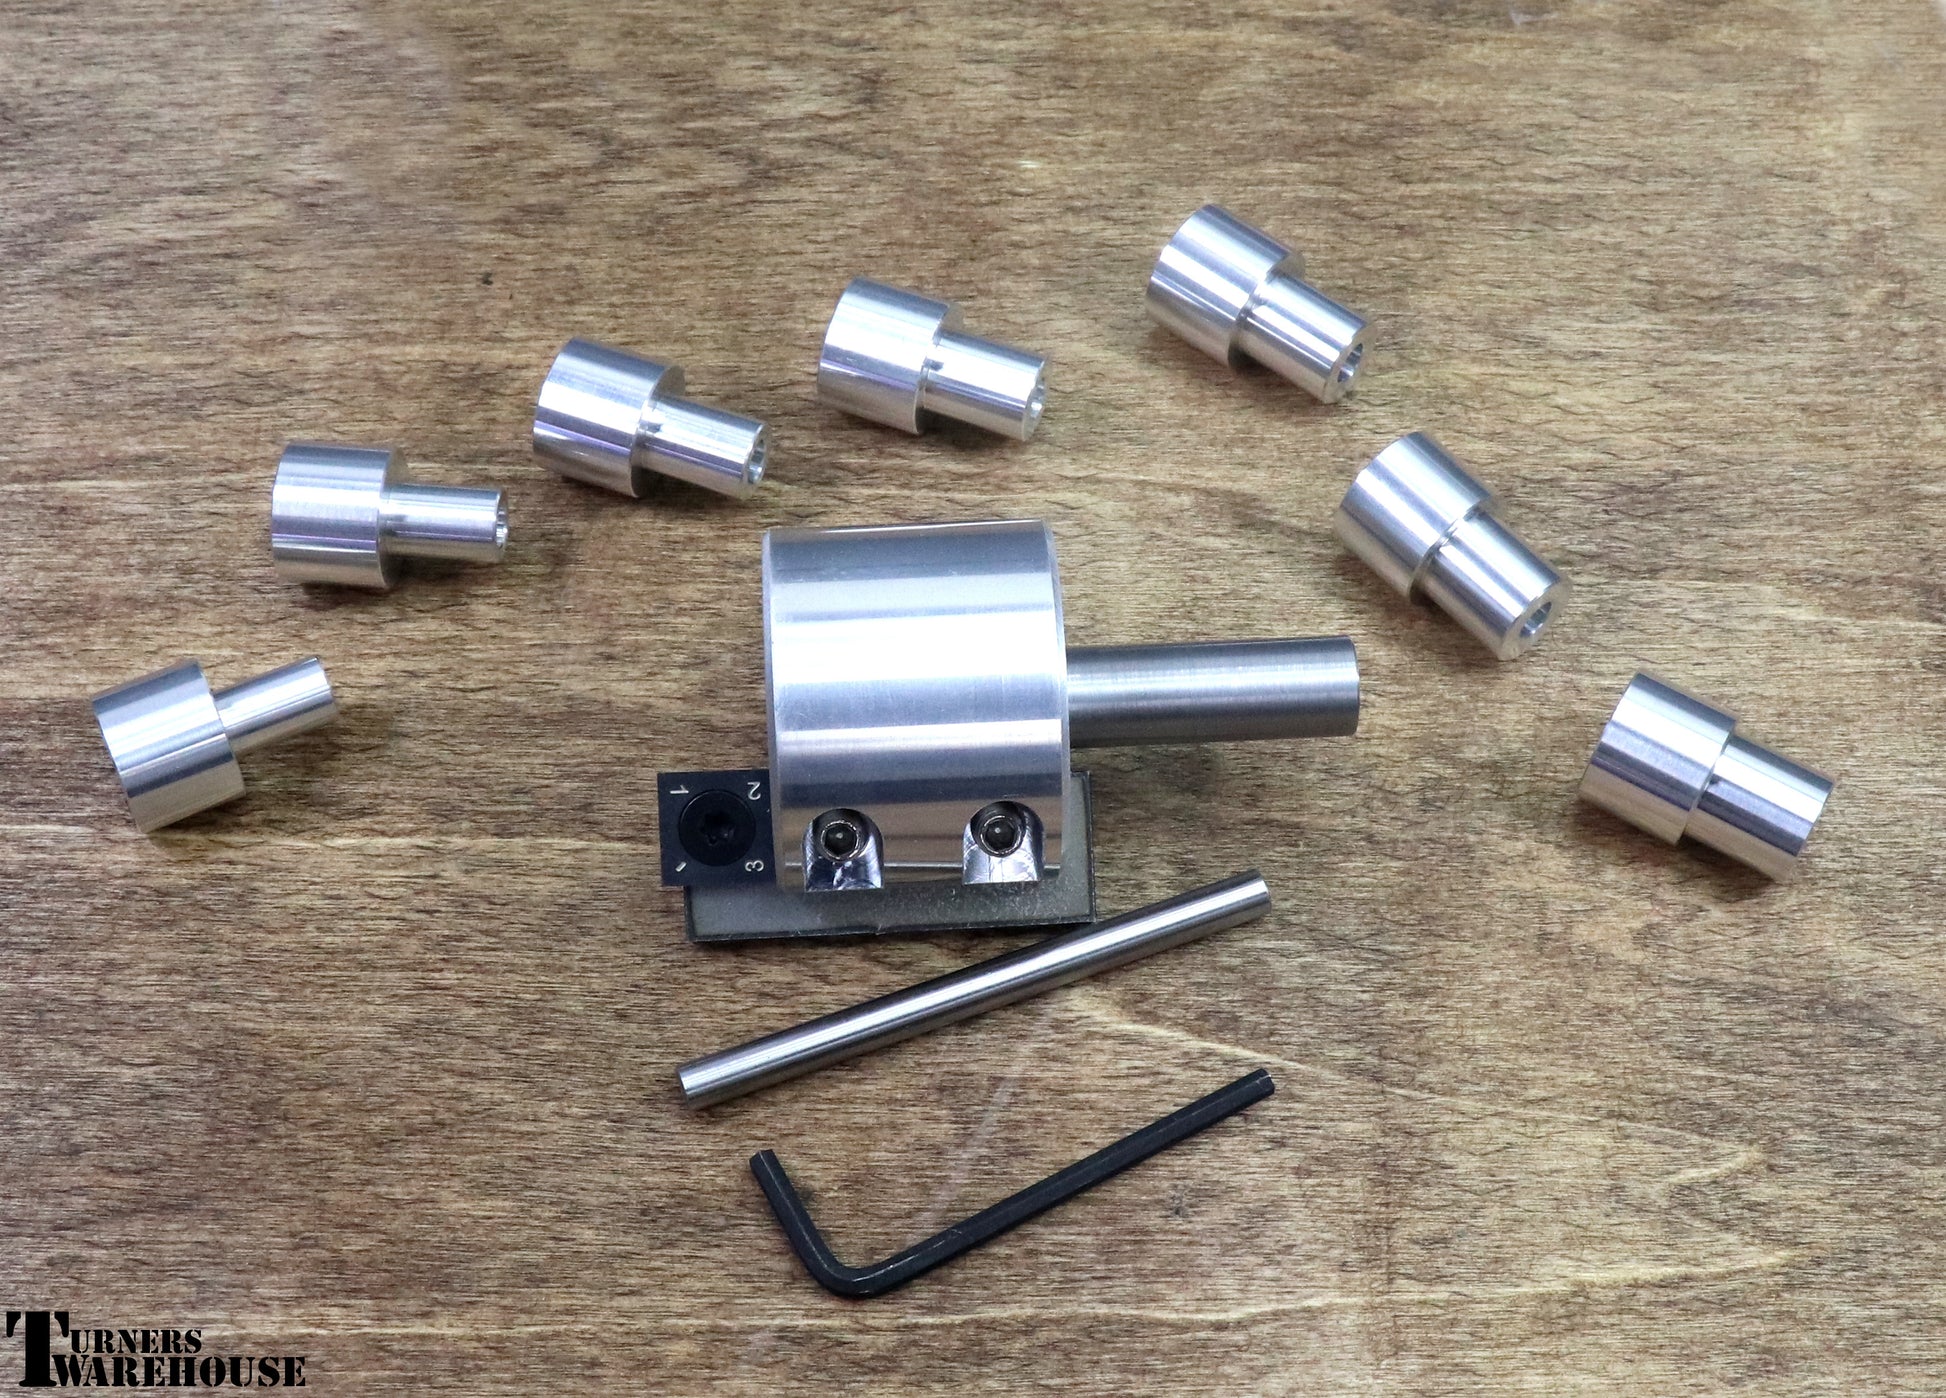
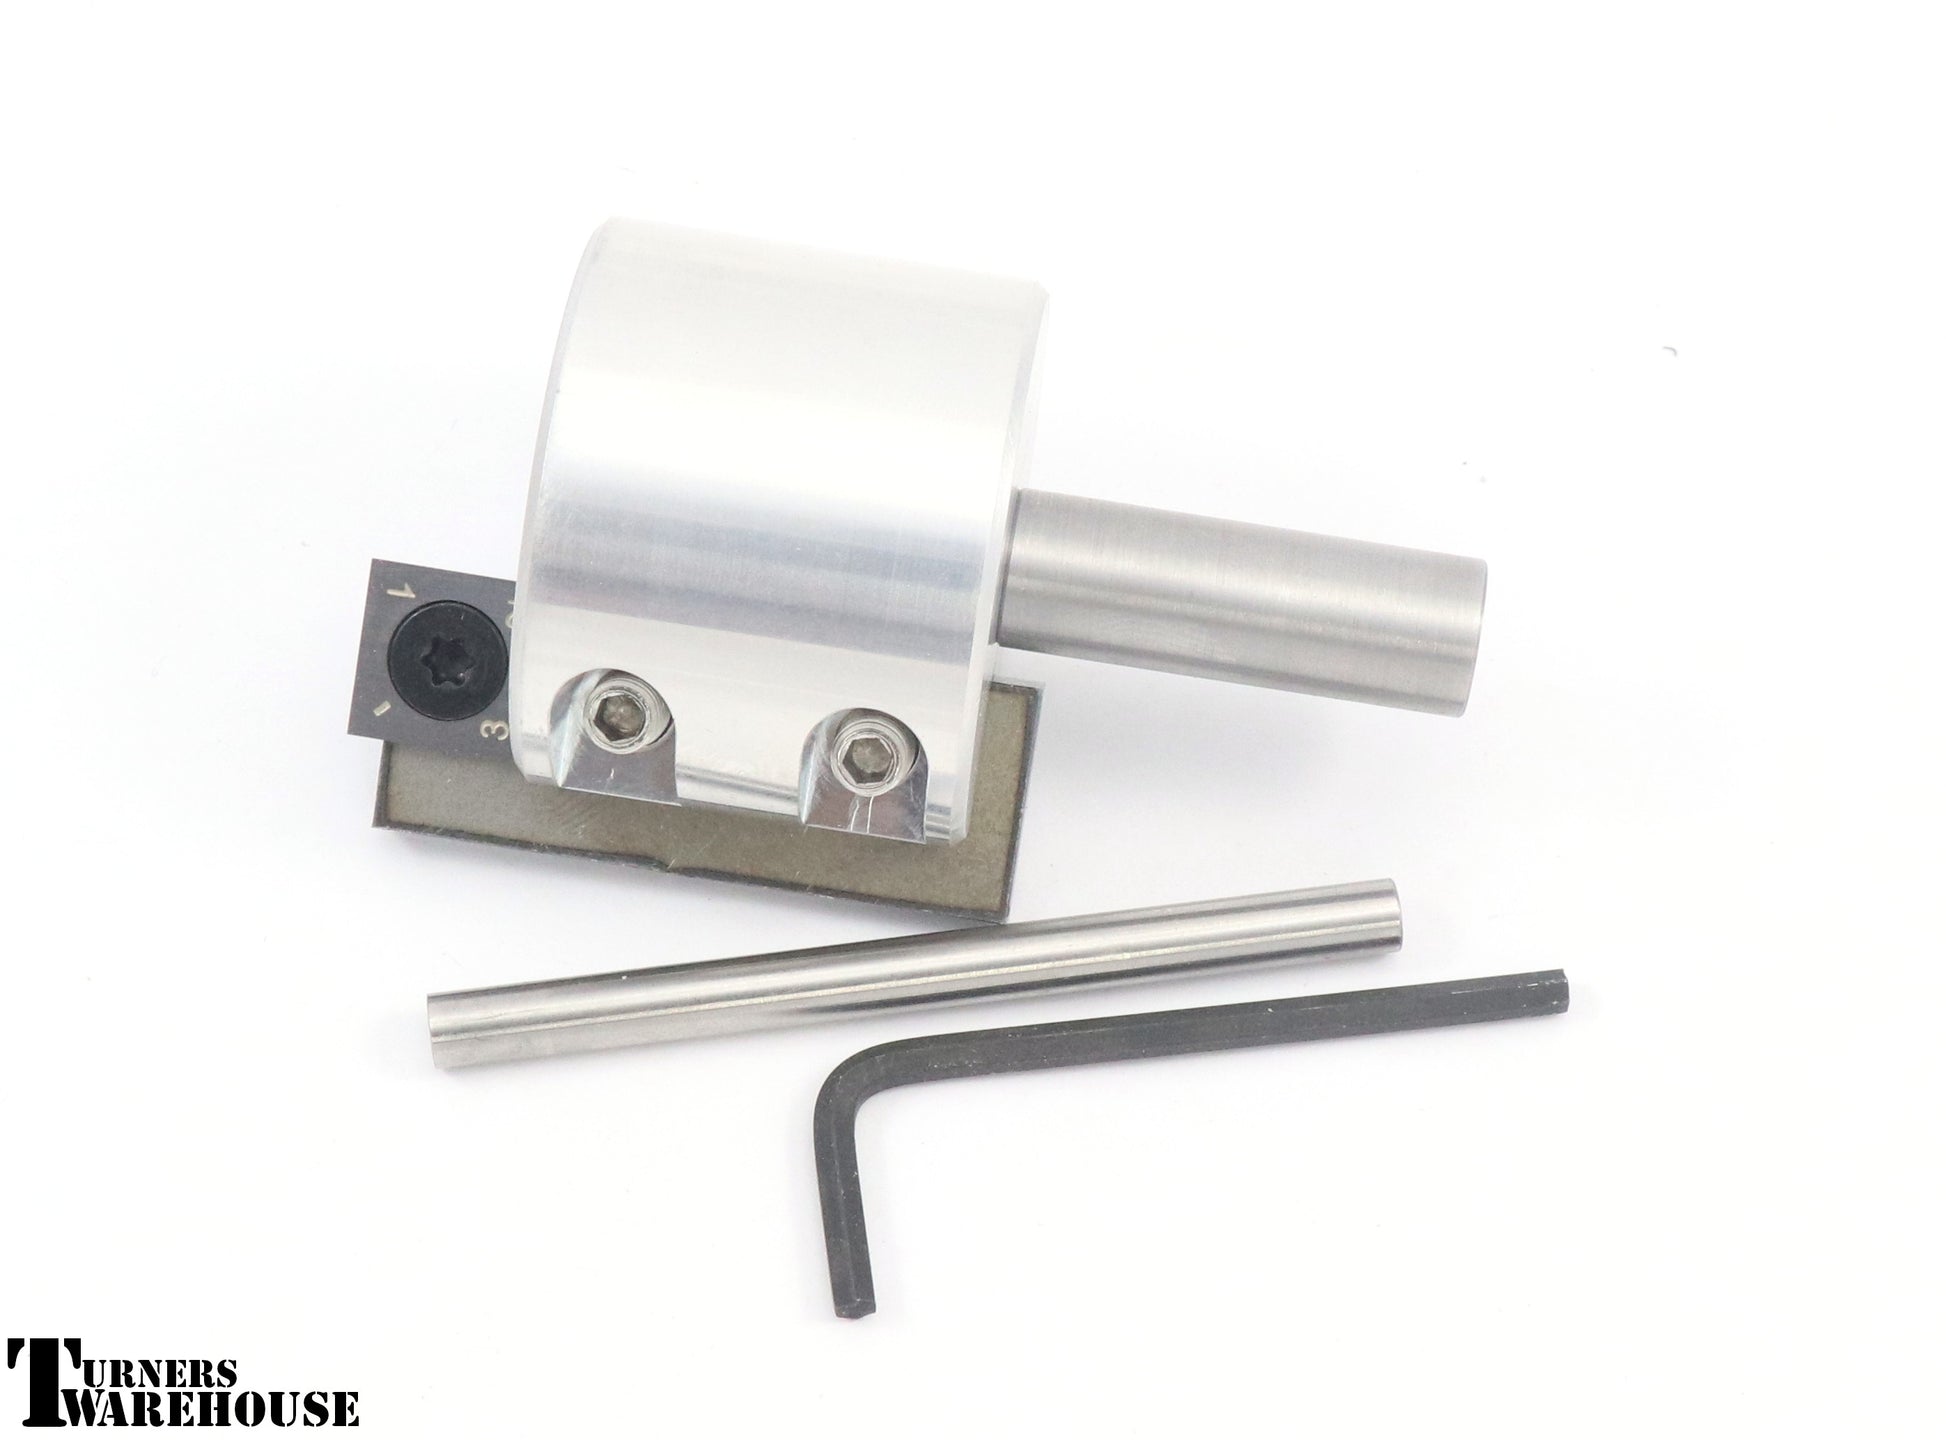
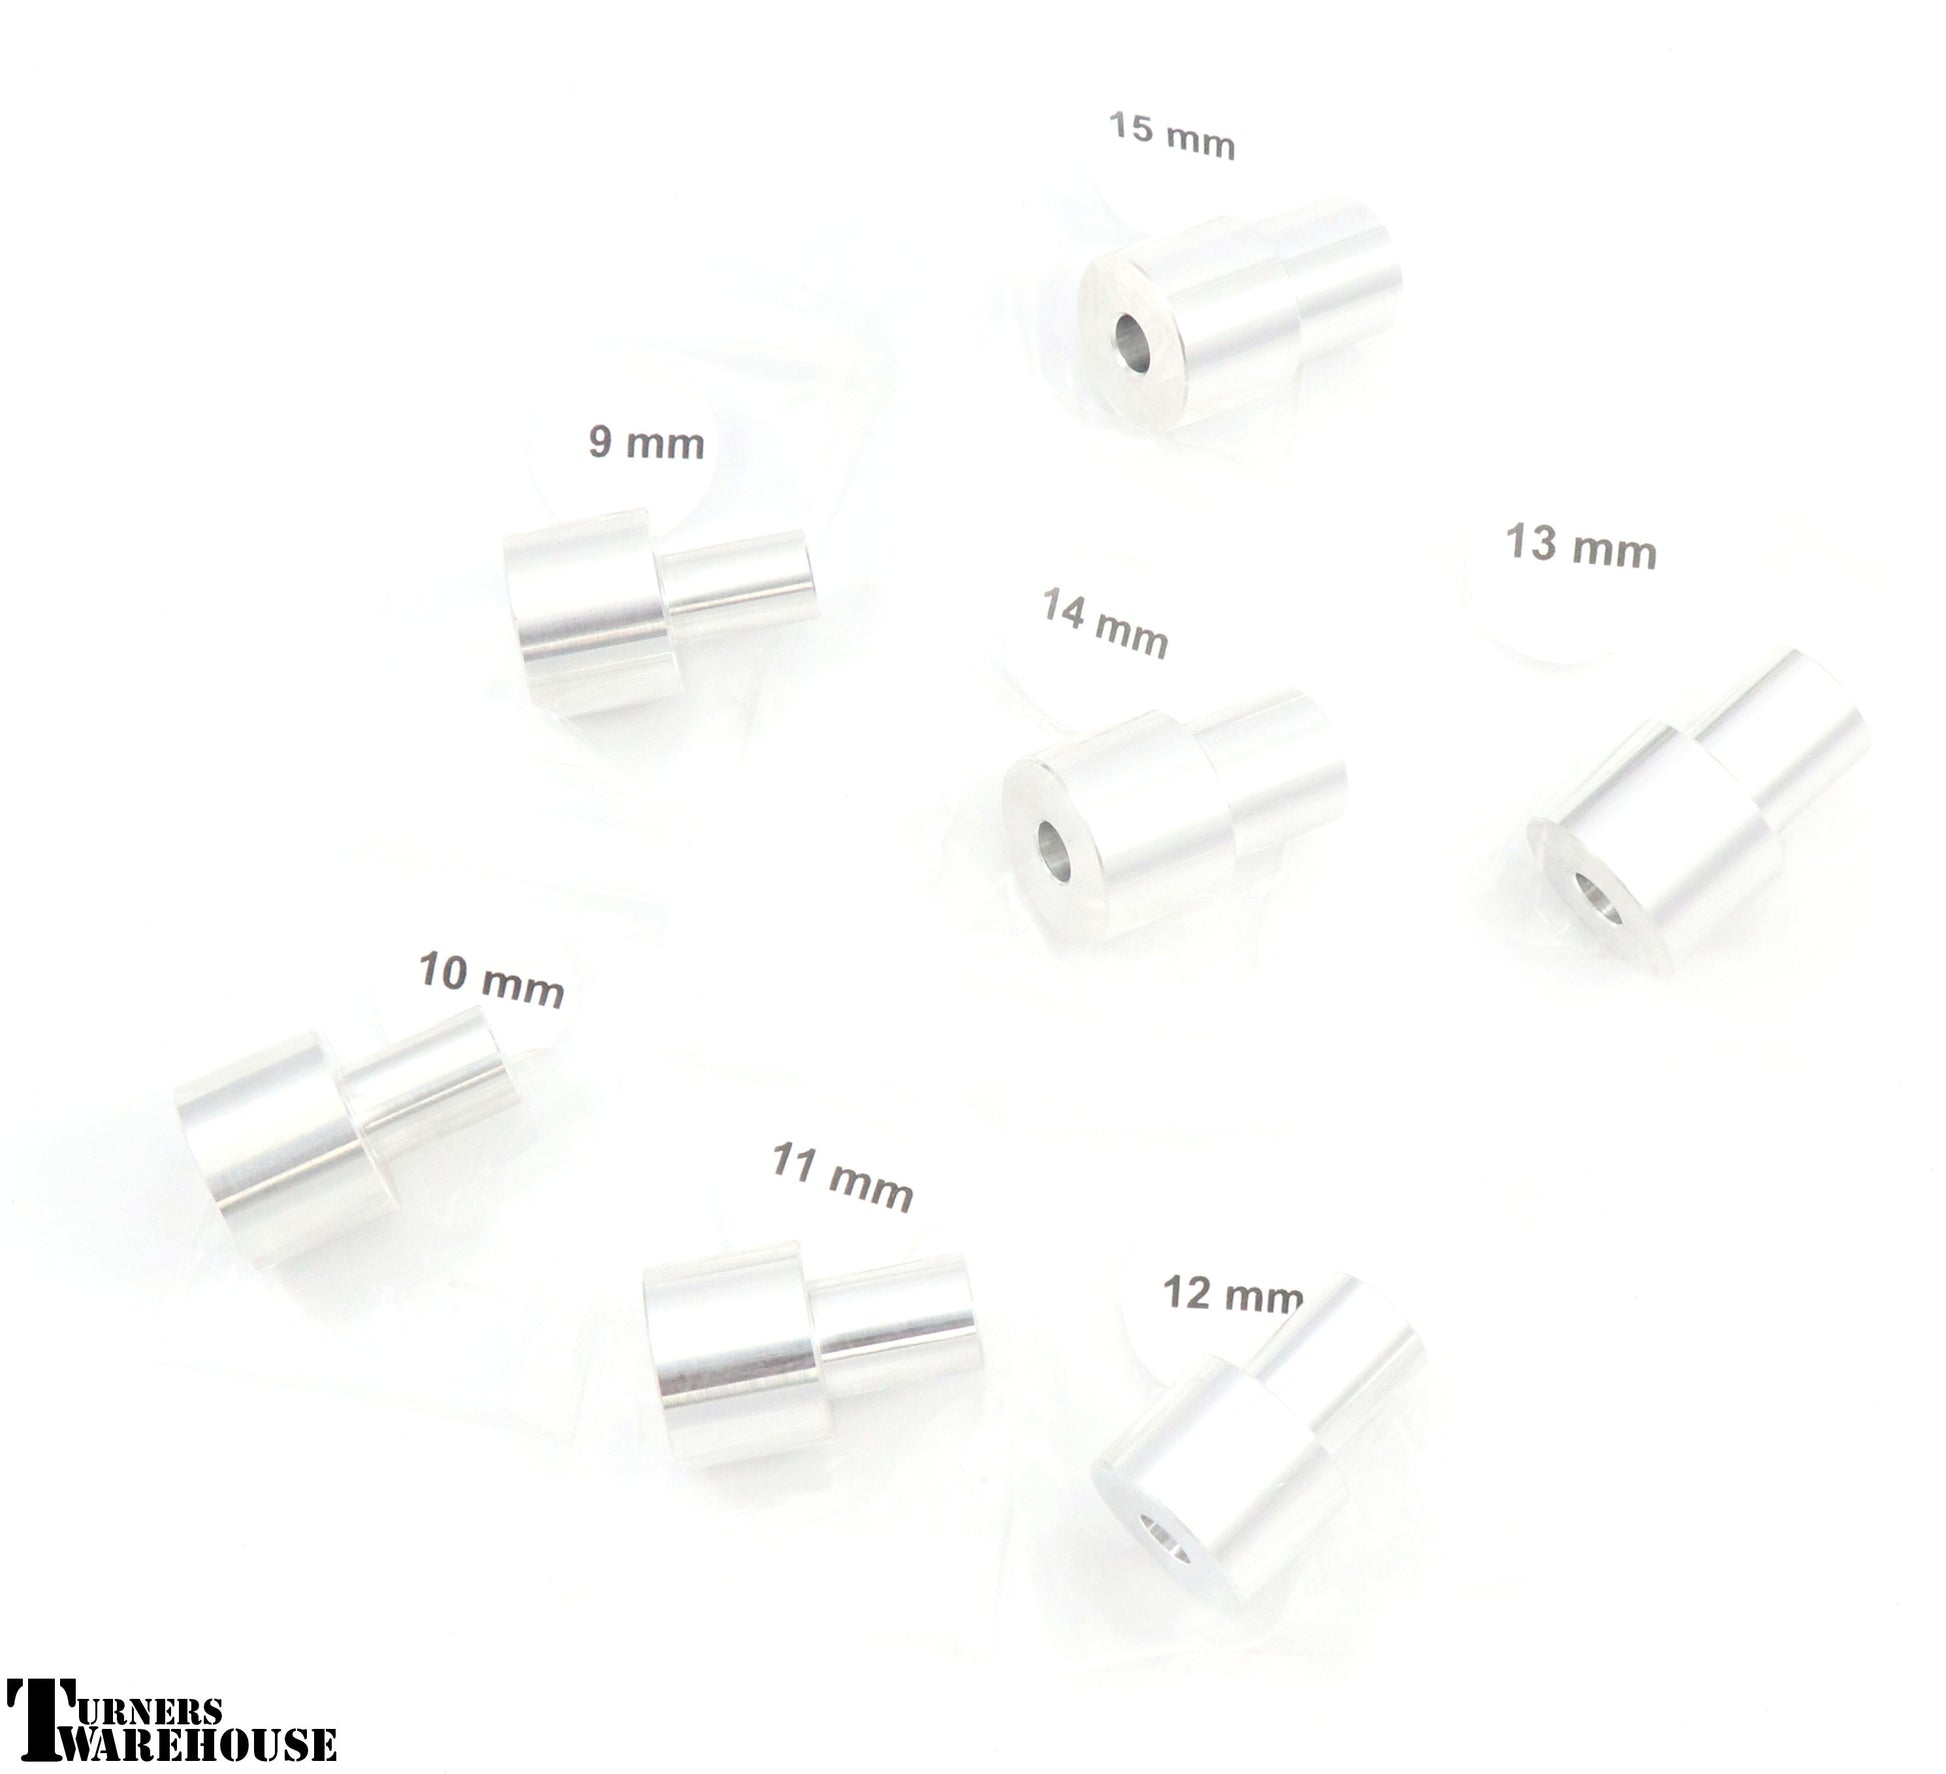
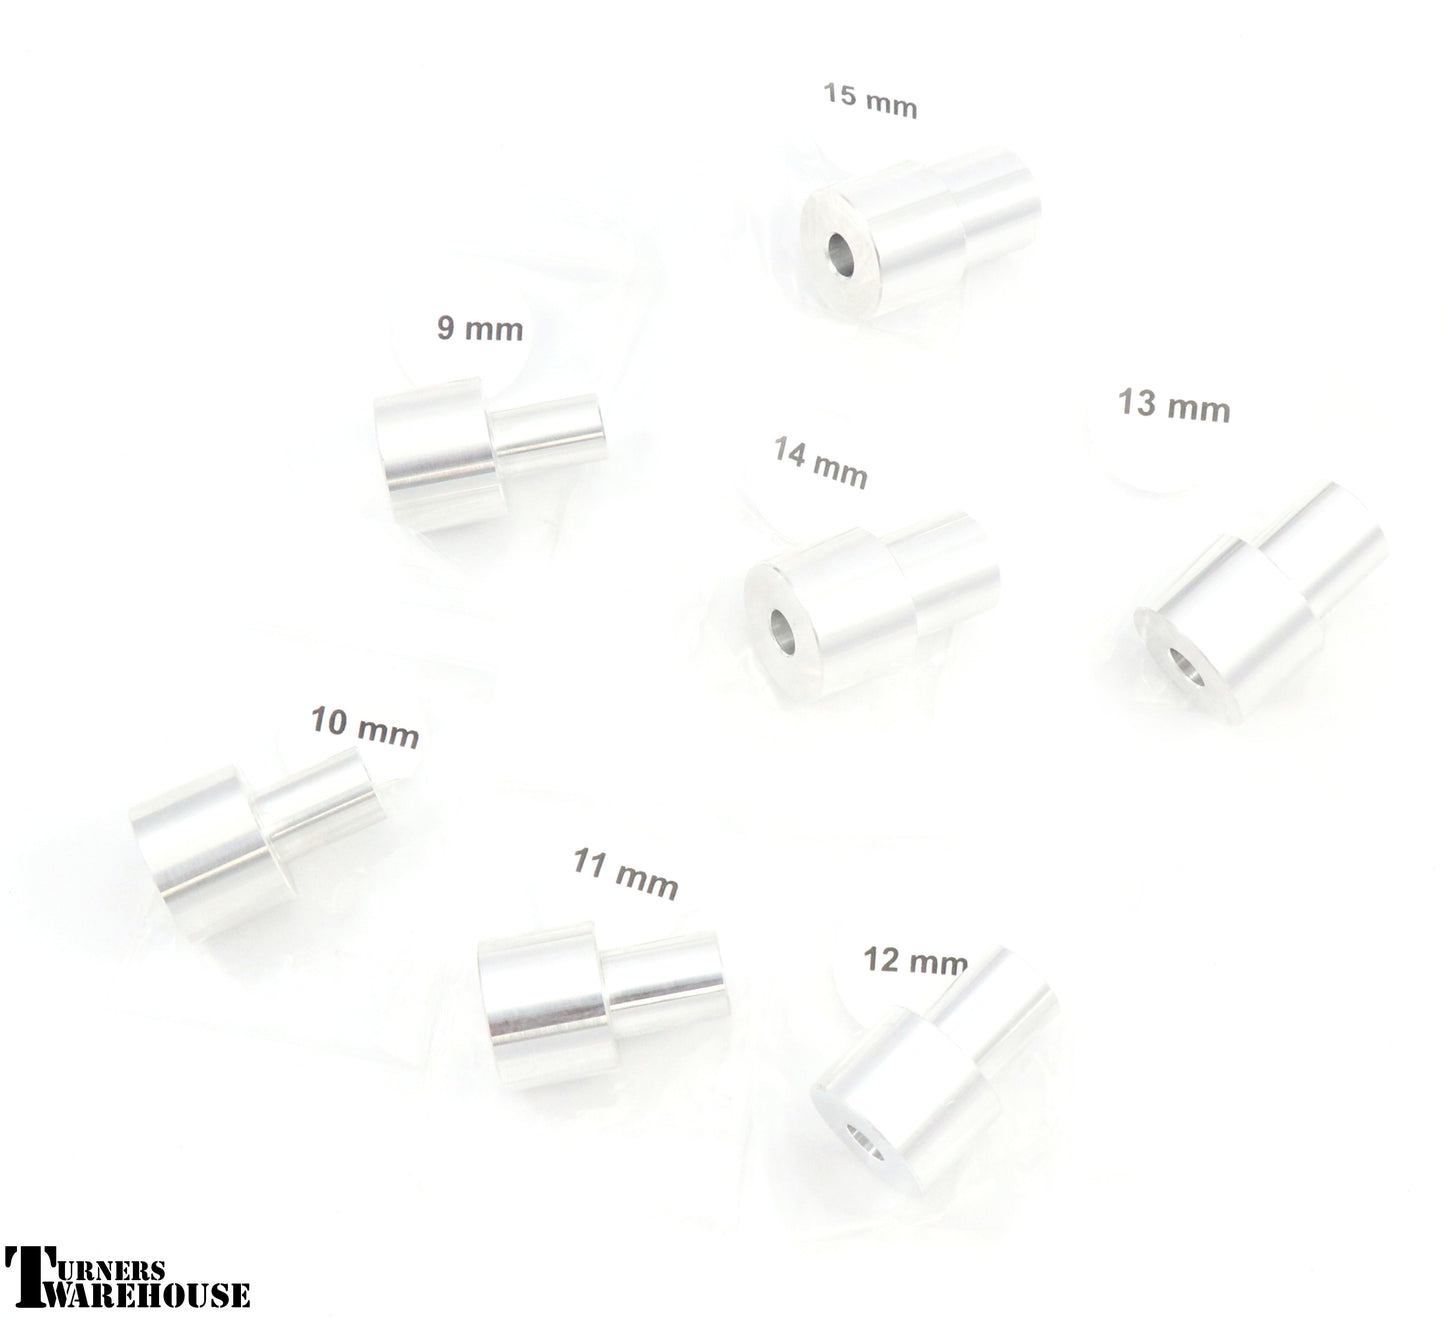
Effortlessly create custom, clean and precise cuts for your bespoke pen making with the Hinze Tenon Cutter. Its sharp carbide tip and multiple size bushings ensure flawless results every time.


Turners Warehouse